
Hello, hello! In today's DIY project, I'll be showing you how to make a beautiful, sturdy journal with a pretty arrow-stitched binding! It's great for a going-away, back-to-school, or birthday gift. With most of these items you can find around the house or buy without much expense at your nearest craft store, this is a great project that helps you use up old magazines and binders and create something new!
MATERIALS:
1 binder (or thin cardboard)ruler
rotary paper trimmer
utility/X-Acto knife
scissors
magazine covers, printed paper
computer paper, cardstock
embroidery thread
needle
white glue - I used tacky glue but I prefer using PVA glue, which is great for its low water content (which causes wrinkling in paper)
1/16 inch single hole punch
Let's begin!
 |
| First, I started by grabbing an old binder and used scissors to cut off the plastic cover and took out the cardboard. I drew a 4.5x6.5 rectangle on paper as a stencil and traced two on the cardboard. These will be your covers. You can make any size journal you want, but keep in mind your measurements since it will be useful for the next steps. |
 |
| Carefully cut out the cardboard rectangles with a utility knife or an X-Acto knife. |
 |
| I found some pretty pictures from Sunset magazine and National Geographic that I thought will be pretty for my covers. When you look for pictures, keep in mind that you will need a 1 inch border outside your template. |
 |
Cut your magazine pages so you have a .75" excess border around the 4.5 x 6.5, using your template as a guide.
Lay the cardboard on top of the backside of the image you want to use for your covers.
Spread a thin amount of glue and glue the top and bottom edges down.
As shown above, fold in the corners on the top and bottom like so.
|
 |
| Use a small amount of glue (spread evenly - this will prevent wrinkling later) and then fold in those edges. |
 |
| When you are done (if you want), glue a rectangle of decorative paper to the backsides of the covers to make them look finished. It's a nice touch. You can also glue envelopes, pictures, or quotes to the inside later to make them fancy! |
 |
| And this is what they look like on the front! Pretty, right?
While you're waiting for the glue to dry, cut out your paper using the rotary paper trimmer.
You'll need to shrink the dimensions of the paper by 1/8 to 1/4 of an inch, depending on how small you want your pages to be. If you want to keep your pages the same size as your cover, you can just use your stencil again.
I cut a total of twenty pages (measured 4x6) from 10 sheets of plain 8.5x11 computer paper. If you want to use heavier paper, feel free to use cardstock or parchment.
|
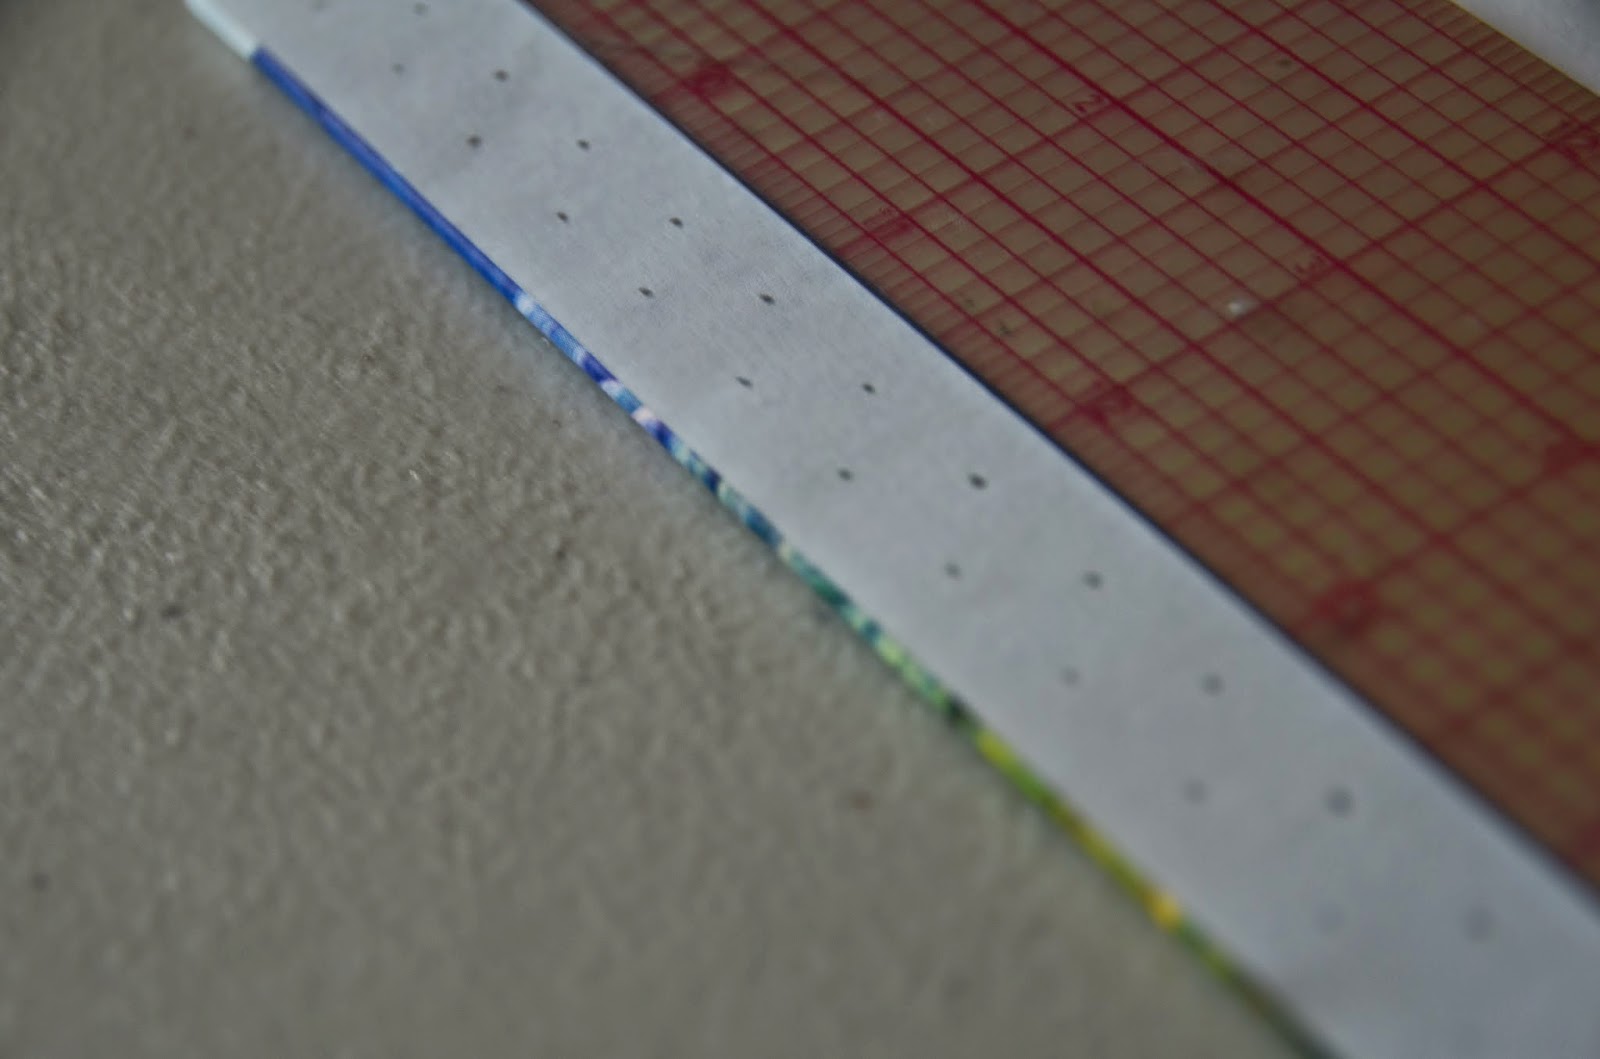 |
| On the left margin of your paper stencil, make two staggered rows of dots. I spaced my dots apart to be every quarter inch. |
 |
Tape your template and using a 1/16 hole punch, punch out the binding holes using the stencil on both of the covers and the paper you cut out. I was able to cut through all 20 pages at once, but it took some effort. You might want to divide the stack into bunches and punch them separately to lessen the stress on your hands.
Use painters tape or washi tape to attach the stencil to the covers and pages. The low tack on these tapes will prevent damage to the delicate paper surfaces on them.
|
 |
| Along the punched edge of your papers, glue a thin layer of glue along the edges. This will give your pages strength and longevity within the book. It's also helpful for keeping them together when you start to stitch up your binding! Do this after you punch out your pages and while you let the glue dry on the edge, punch out your covers. |
 |
| Before you punch out the covers on your book, making sure that the dots line up with each other when you close the covers together. If they don't match up, you can't lace up your book! |
 |
| Let's start lacing! It might be a little tricky, but once you finish a few stitches, it will work like a breeze!
Place both covers with the insides facing in together. Sandwich your paper in between, making sure that the dots align.
Thread your needle with embroidery thread color of your choice. Leave a long tail that's 8-10 inches long - you'll need it to complete one side of the cover.
Choose a left margin hole towards the middle of your front cover and as shown above, stick your needle in through the back cover and through to the front like so.
I used a curved needle used for quilting, but you can use any thick needle that can hole embroidery thread.
|
 |
| Bring the needle through the top right hole like shown and bring it through both covers. |
 |
Bring the needle from the backside over the left edge of the cover and push it through that right hole you just threaded your needle through. Pull taut - this will help keep the binding strong when in use.
As you can see on the stitches below, it will look like an incomplete arrow - which it is!
|
 |
Keep on stitching until you reach the top. When you do, flip the book on its backside and remove the needle. With the remaining thread at center of the book, repeat what you just stitched on the other side to complete the row.
At the end, bring the needle over the bottom (shown above as the top edge) and thread through the bare side of the arrow stem, completing the arrow.
Flip over the to the top again and continue finishing the other side of the arrows.
|
 |
When you are done, your thread should meet up with the remaining tail from your first row of stitches. Tie a square knot and trim off the excess! You're done with the hard part! Go you!
As you stitch, you may have noticed that what you see on the front is duplicated on the back! How cool! This is super helpful, especially if you get lost and don't know which hole to stick the needle in next.
|
 |
| Using a sturdy flat edge such as a ruler, lay over the stitched binding and use it to fold the cardboard cover so it's able to be opened. Aaaaaaand...that's it! You're completely finished! Here's the finished product above! |
With some effort and time, you can make a well-crafted journal for mere pennies if you have the right materials around the house. If you don't have these specific items, it's inexpensive to grab from your craft store. It's useful and pretty, so it's a great gift that you can customize to the taste of the person you're giving it to. Good luck on DIY-ing!
0 comments:
Post a Comment